Aside: Jupyter Notebooks
Until this point in the course we've used Python scripts to run code. However, in the world of Data Science there is another way to write and visualise Python code - the Jupyter Notebook.
What is a Jupyter Notebook?
The Jupyter Notebook is an open source web application that you can use to create and share documents that contain live code, equations, visualisations, and text. They're designed for experimentation, for rapidly iterating on an idea, and quickly seeing visual output. Jupyter Notebook is maintained by the people at Project Jupyter.
Jupyter Notebooks are a spin-off project from the IPython project, which used to have an IPython Notebook project itself. The name, Jupyter, comes from the core supported programming languages that it supports: Julia, Python, and R. Jupyter ships with the IPython kernel, which allows you to write your programs in Python, but there are currently over 100 other kernels that you can also use.
Jupyter Notebook's can be used for a number of operations, including:
- Data Visualisation
- Jupyter Notebook was initially designed for use by data scientists, meaning the analysis and interpretation of data are at the center of its operations. For this reason, you can use this application to generate charts and graphs from code, using available modules such as Plotly, and Matplotlib. Notably, Jupyter Notebook is structured such that it generates charts immediately below the code that created them.
- Multimedia Support
- As a web application, Jupyter Notebook supports multimedia. There are two approaches to including multimedia on your notebooks, namely generating them using a module called IPython.display (this entails writing code) or including the multimedia as an HTML document.
- Documenting Code
- As we detailed earlier, writing a quality code entails making it easy to read and understand the context within which you created the code. Being an application meant to promote collaboration, it goes without saying that Jupyter Notebook should have tools that facilitate this very function; and it does. The notebook environment on this open-source application enables you to explain your code line-by-line, thus making it easy for anyone to understand your reasoning.
- Producing Reports
- Notebooks can be exported to create reports that can be read by non-technical people whilst also preserving the code that generated the report.
Getting Setup
The team at Jupyter provide a standalone library for working with notebooks but we're going to use the tools provided to us by Visual Studio Code.
If you haven't already, install the following VS Code plug-ins
- https://marketplace.visualstudio.com/items?itemName=ms-toolsai.jupyter
- https://marketplace.visualstudio.com/items?itemName=ms-toolsai.jupyter-keymap
- https://marketplace.visualstudio.com/items?itemName=ms-toolsai.jupyter-renderers
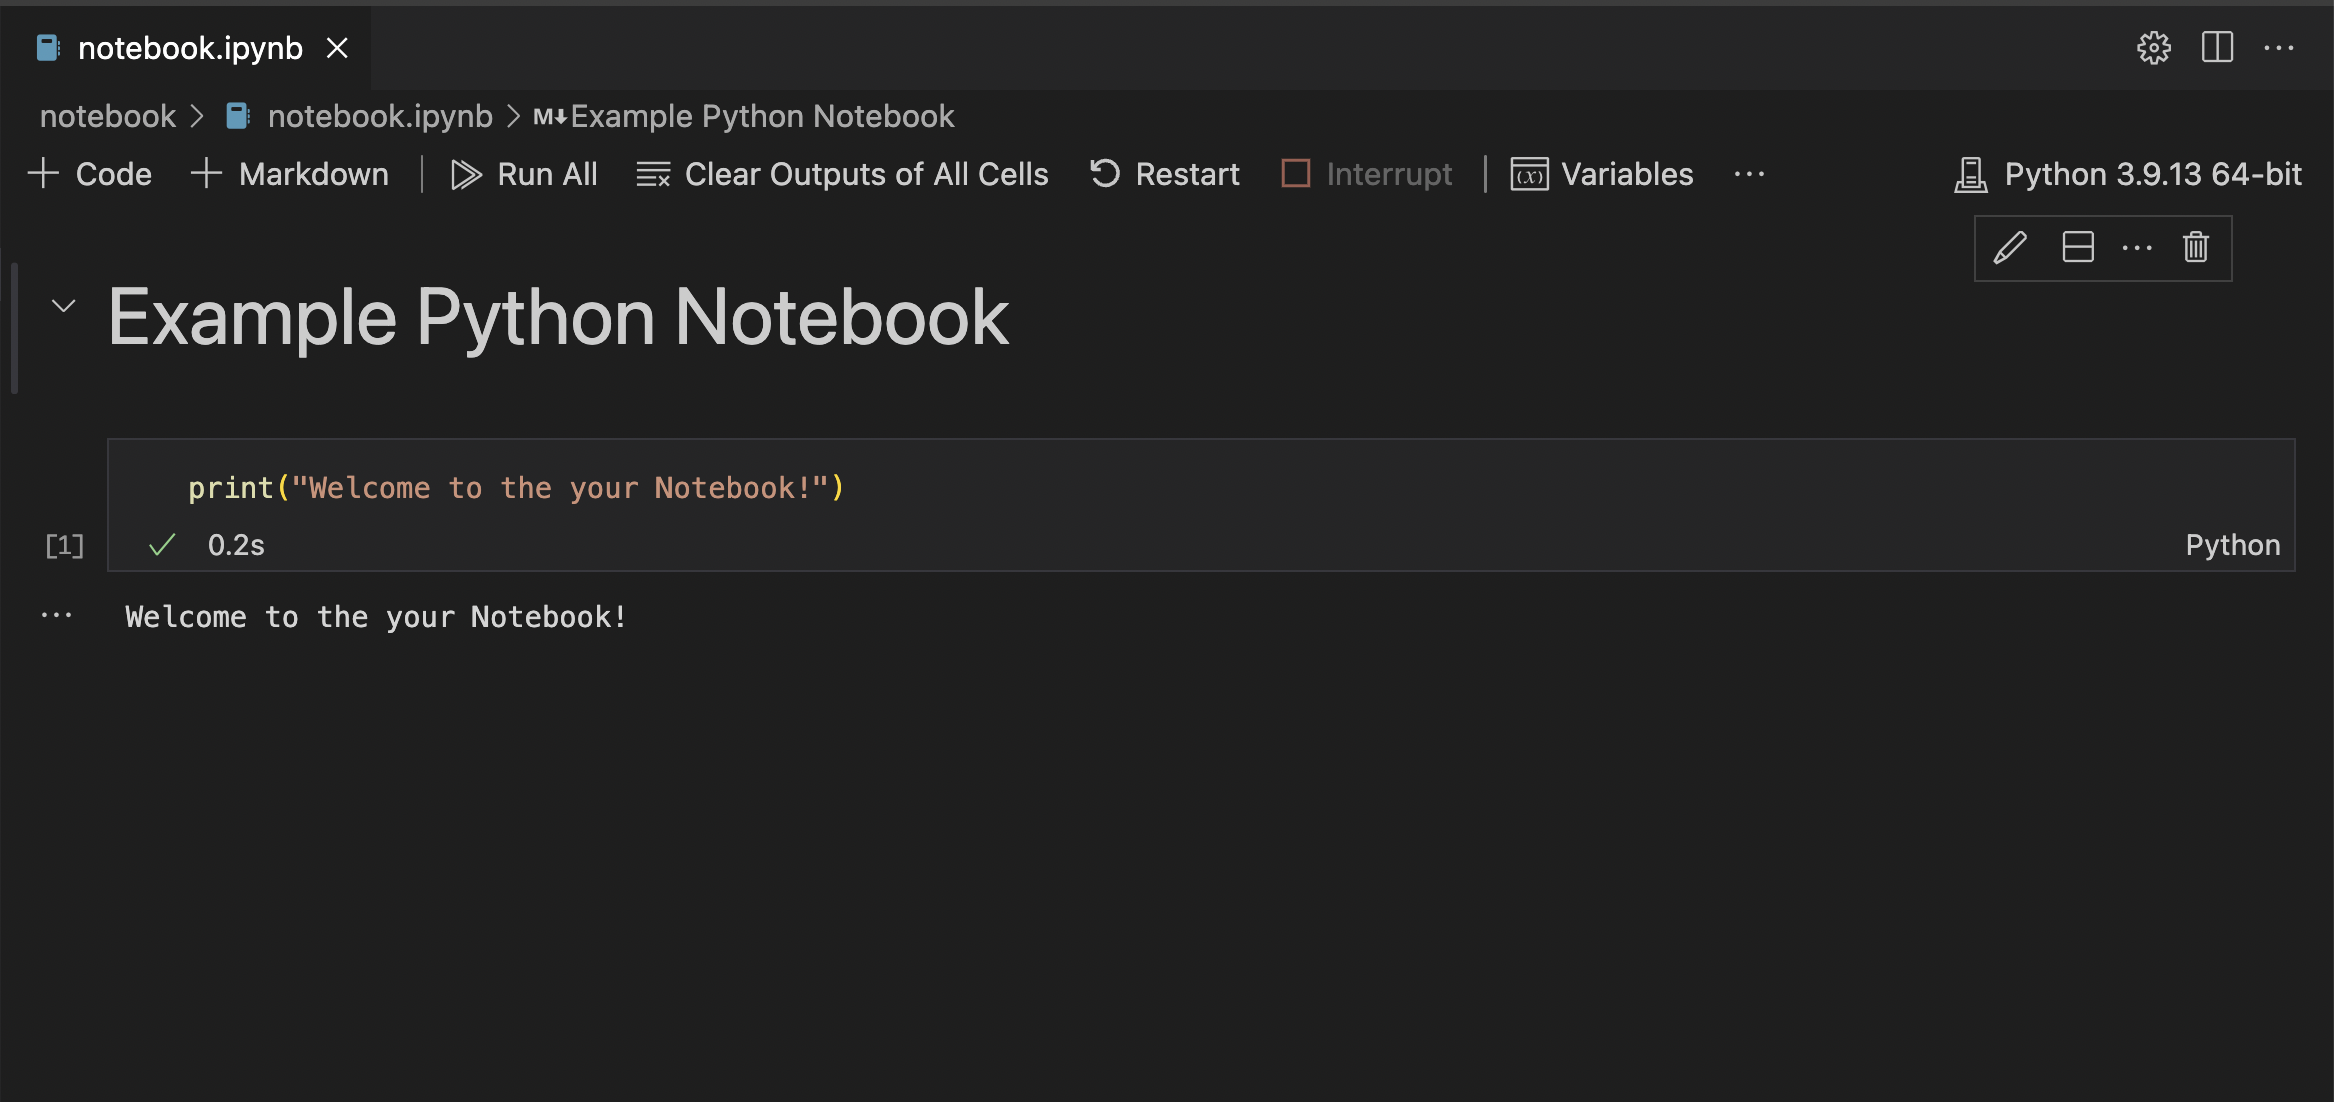
When this is working correctly you should be able to create a file called notebook.ipynb (it can actually be called anything, so long as it has the .ipynb suffix) in VSCode and then open it see something similar to the below.
Jupyter Cells
There are two types of cells in Jupyter Notebooks - Markdown and Code
Code Blocks
Code blocks are executable blocks of code that are run inside the Notebook. They will run exactly like Python scripts that you have previously been running inside the terminal. Code blocks can be run by clicking the small arrow icon to the left of any block.
It's worth noting that whatever is placed on the last line of a code block will automatically be printed to the space below the block like so:

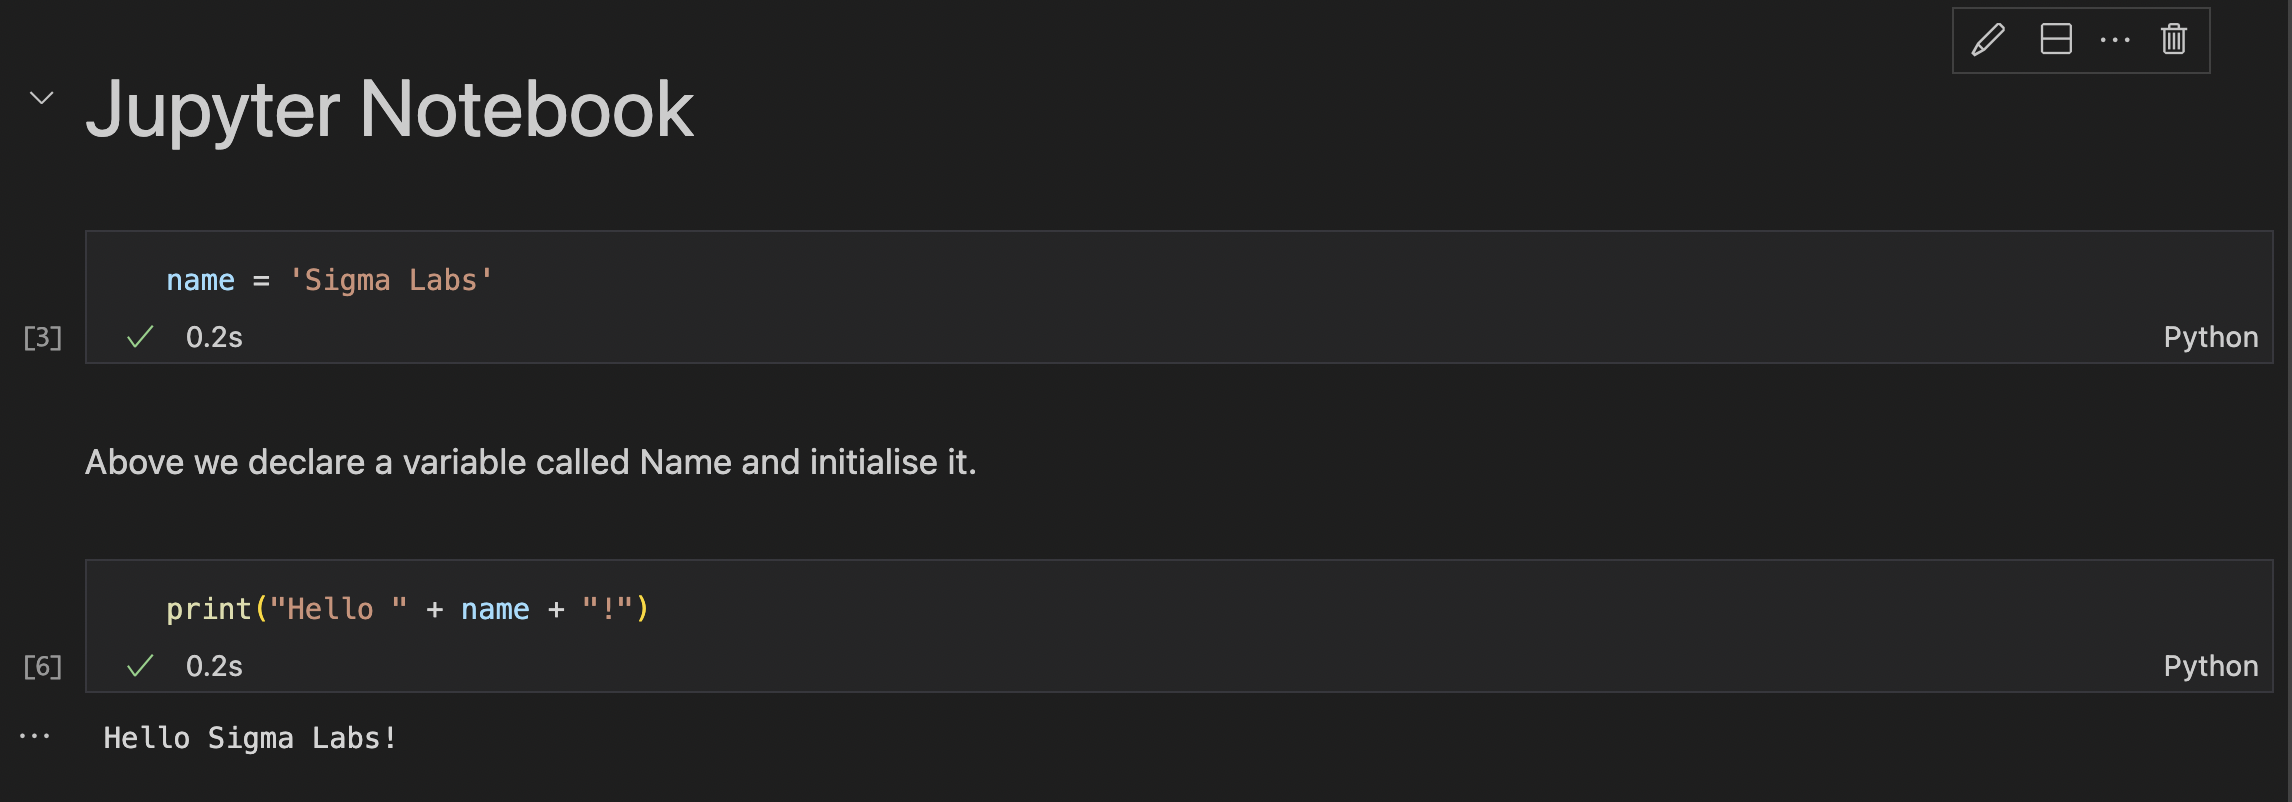
It's important to note that code blocks run in the context of the whole notebook, not just the block of code that they are written in.
This means you can write blocks of code like this where one block of code can access elements (e.g. variables, functions etc) declared in another block of code like so.
- Read this article from VSCode about how to use Jupyter Notebooks inside VSCode
- Write some code in the
notebook.ipynbfile by adding a new block to the page. - Run the code and examine the output in the space below the block
Markdown Blocks
Markdown is a text mark-up language used to format text in a way that is easy to read and render in a variety of places.
- Complete this short tutorial that walks you through the basics of markdown syntax
- Write some markdown in the
notebook.ipynbfile by adding a new block to the page.